Setting the address of your WooCommerce store will require the following steps:
Step 1 #
From the dashboard of your admin backend, navigated down the left-hand navigation column and hover your cursor over the “woocommerce” link (see fig.1). A second menu will appear. Click on “settings” (see fig.2).
fig.1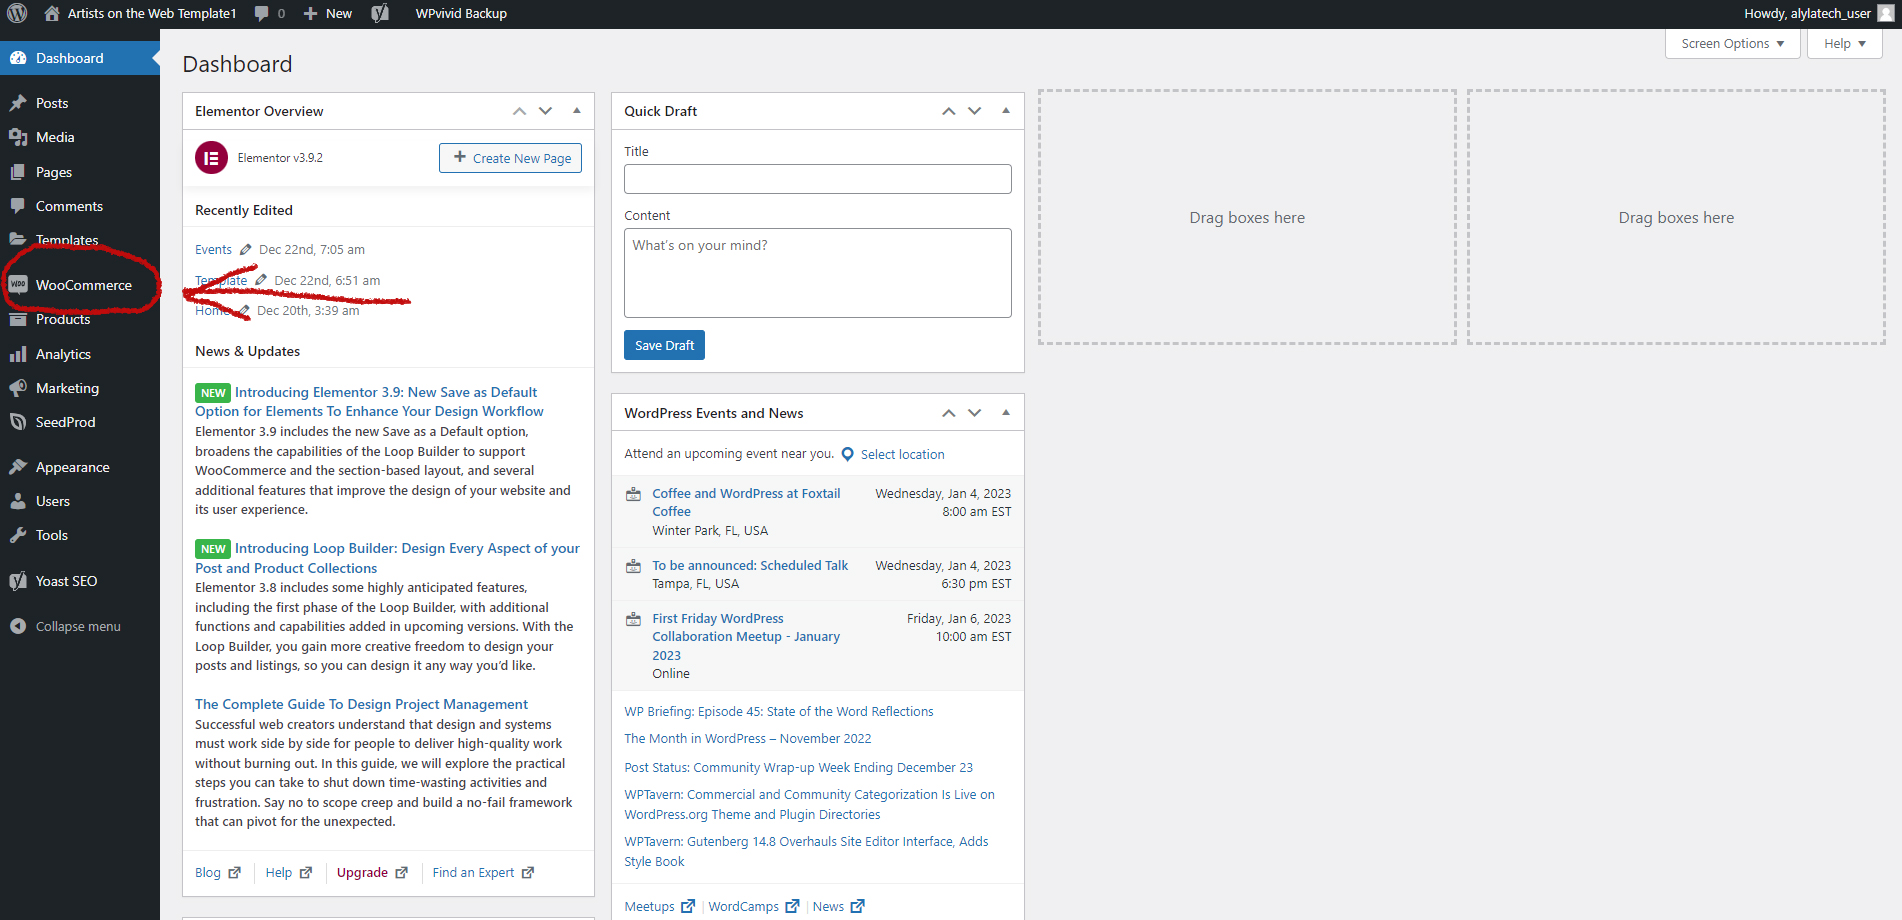
fig.2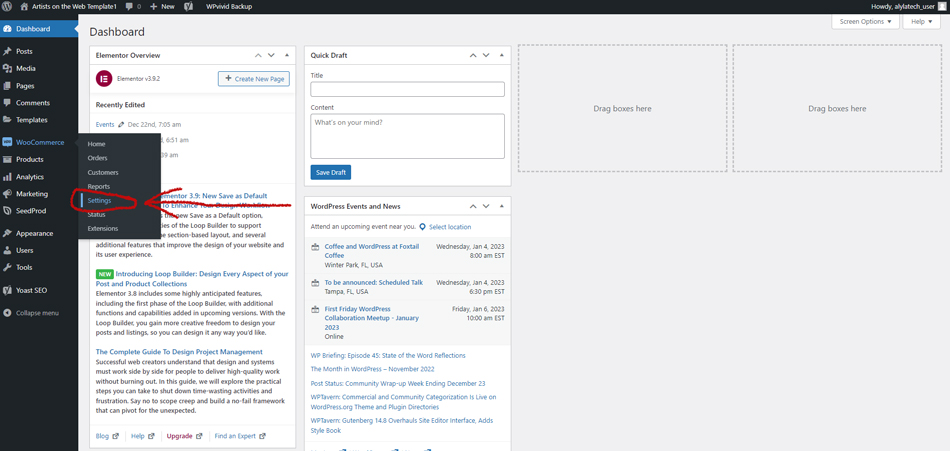
Step 2 #
You will now arrive at the “general” tab of the settings page (see fig.3).
fig.3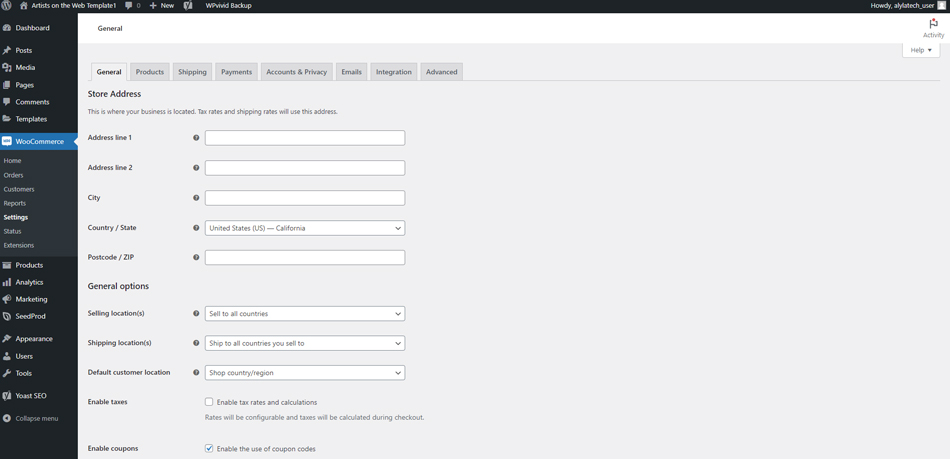
Fill in the fields for “address line 1”, “address line 2”, “city”, “country/state”, and “postcode/zip” with the information you would like to enter (see fig.4).
Fields can be left blank if desired.
fig.4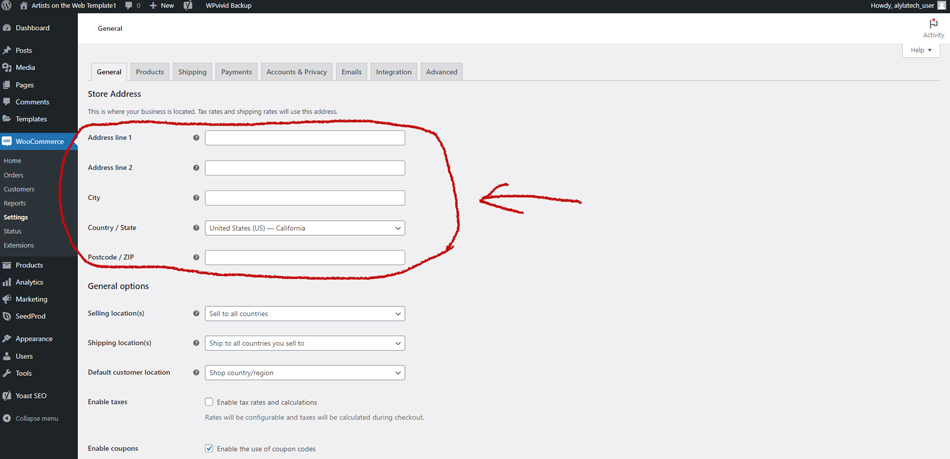
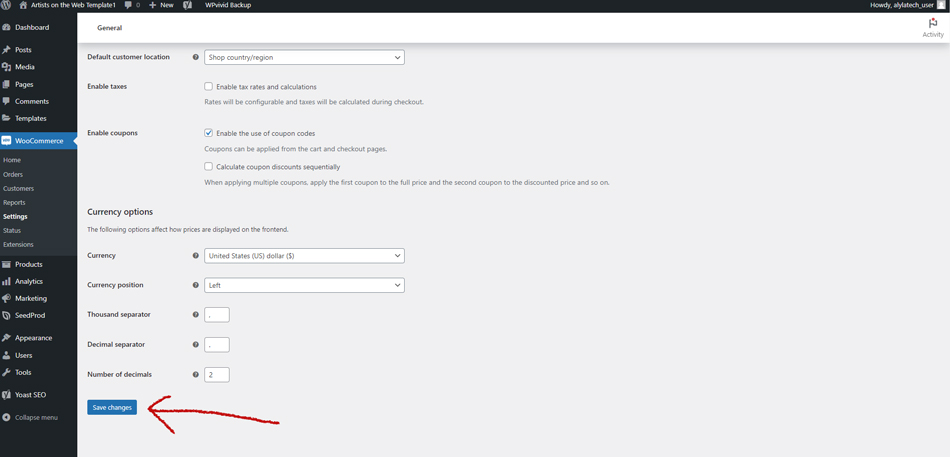
Step 3 #
Now, scroll down to the bottom of the page and click the blue button that says “save changes” (see fig.5).
fig.5