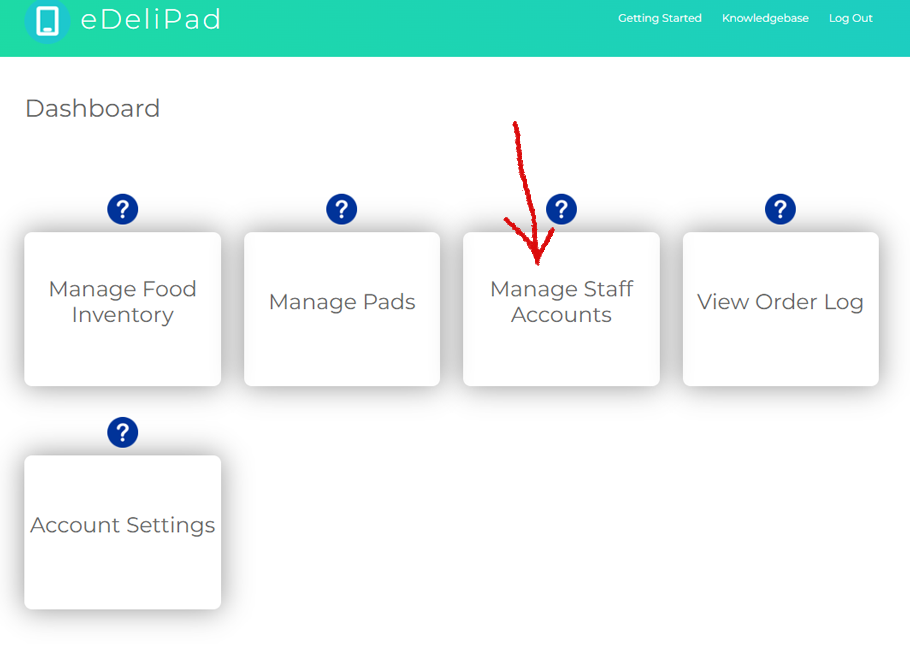
STEP 1 #
From the dashboard of your owner account, click on the third box. It is labeled “Manage Staff Accounts” (See fig.1).
fig.1
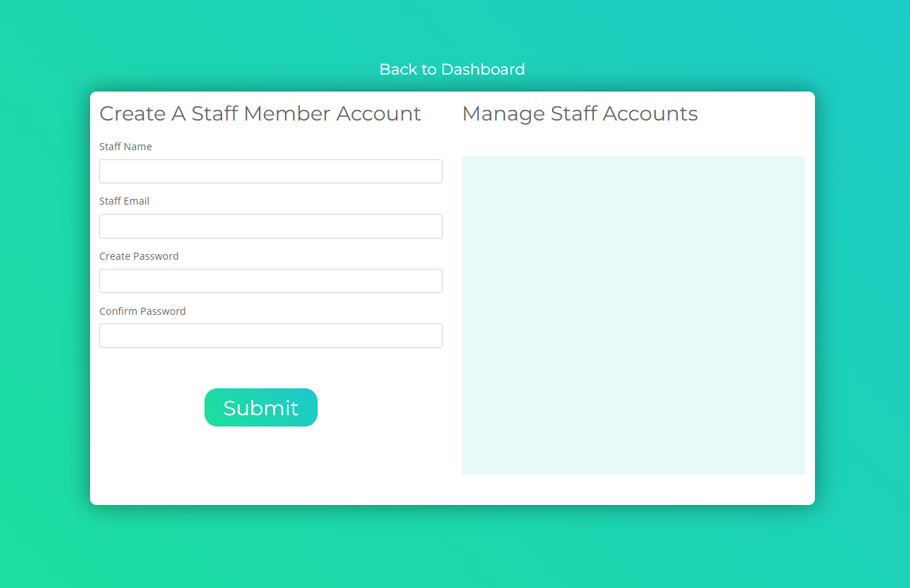
STEP 2 #
You will be brought to the page where you can create accounts for your staff members (See fig 2).
fig.2
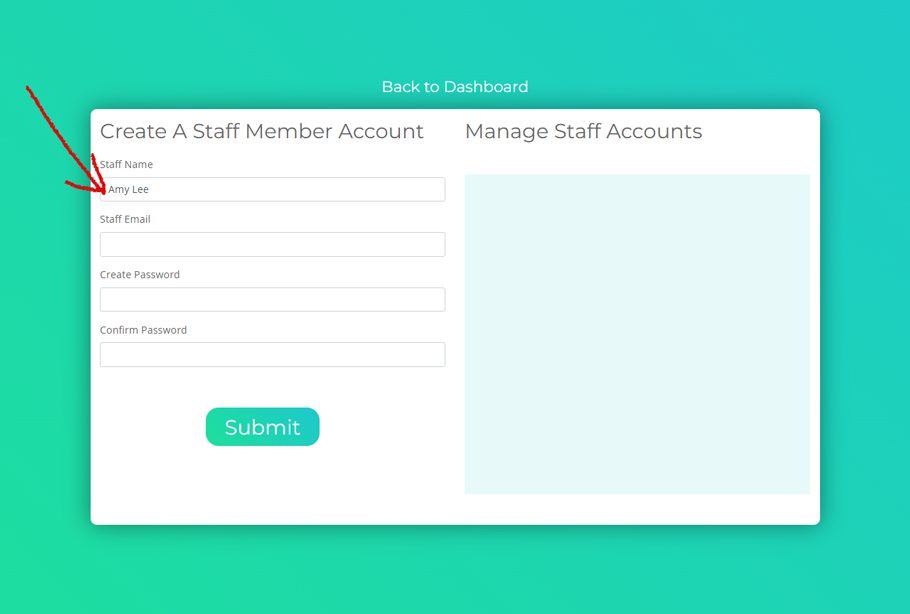
Now, place the name of your staff member in the field labeled “Staff Name” (See fig 3).
fig.3
STEP 3 #
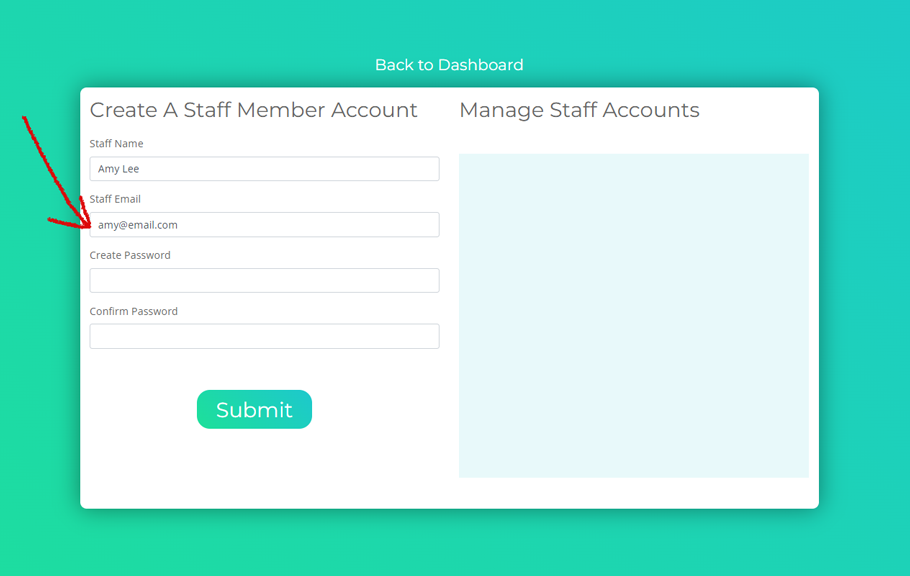
Enter the email address of your staff member in the field labeled “Staff Email” (See fig 4).
fig.4
STEP 4 #
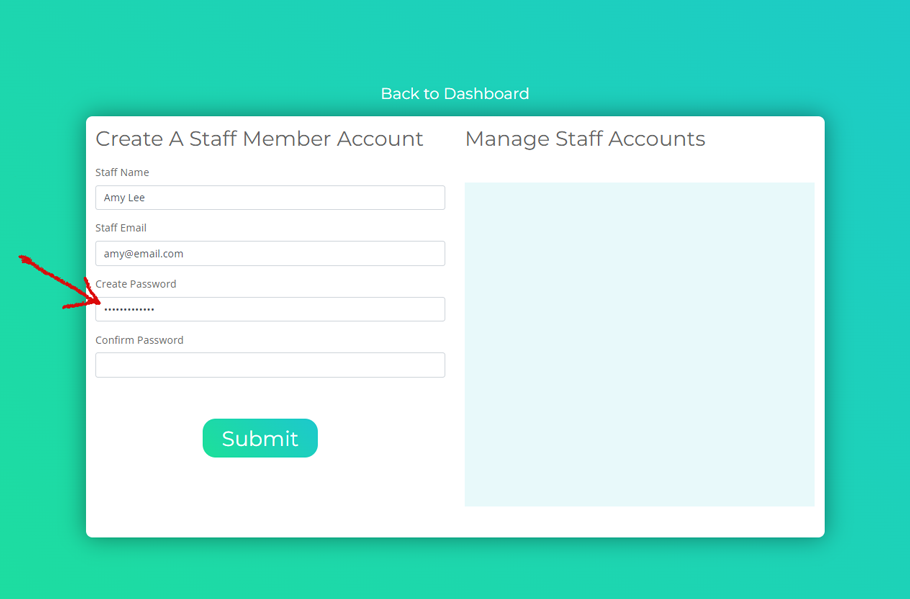
Enter the password that you will be giving your staff member for their account. Place it in the field labeled “Create Password” (See fig 5).
fig.5
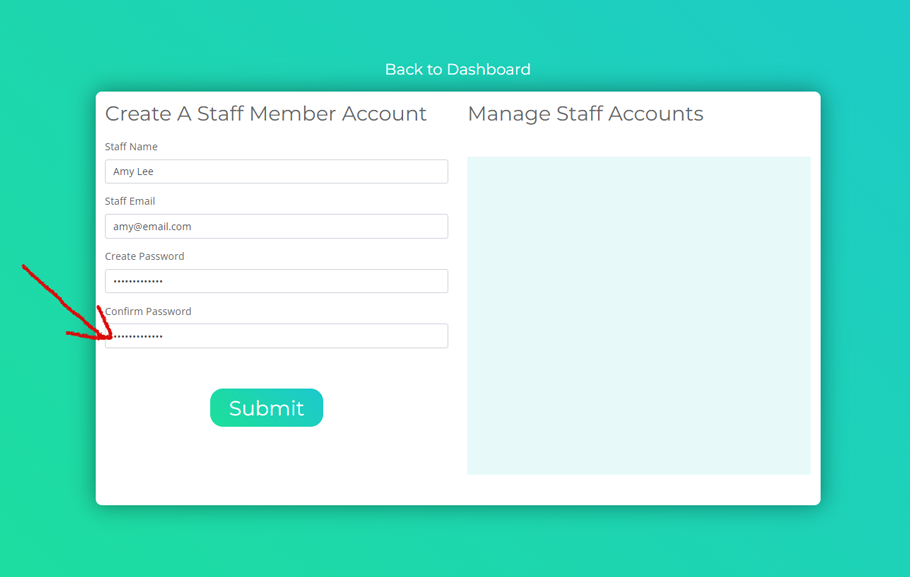
Re-enter the password in the field labeled “Confirm Password” (See fig 6).
fig.6
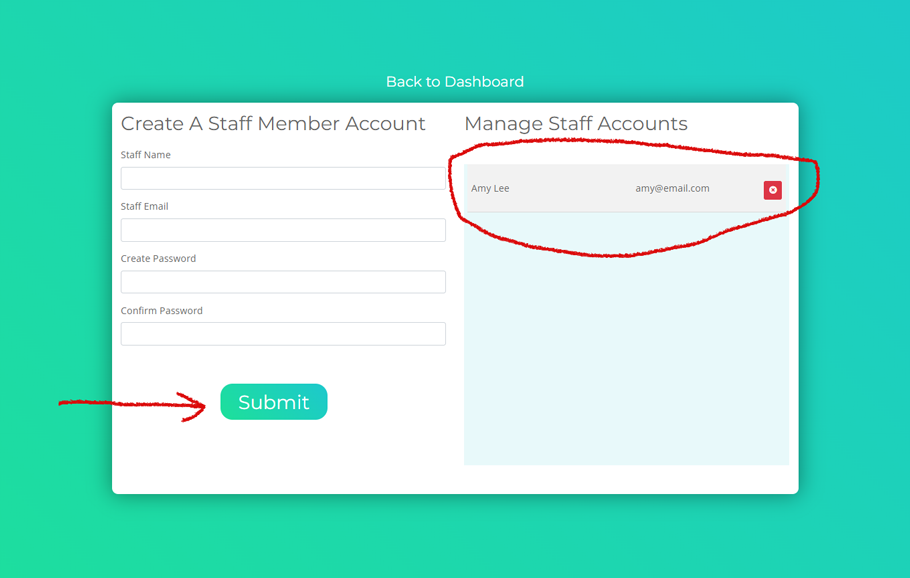
STEP 5 #
Click on the “Submit” button. Your newly created staff member will appear in the space on the right hand side (See fig 7).
fig.7