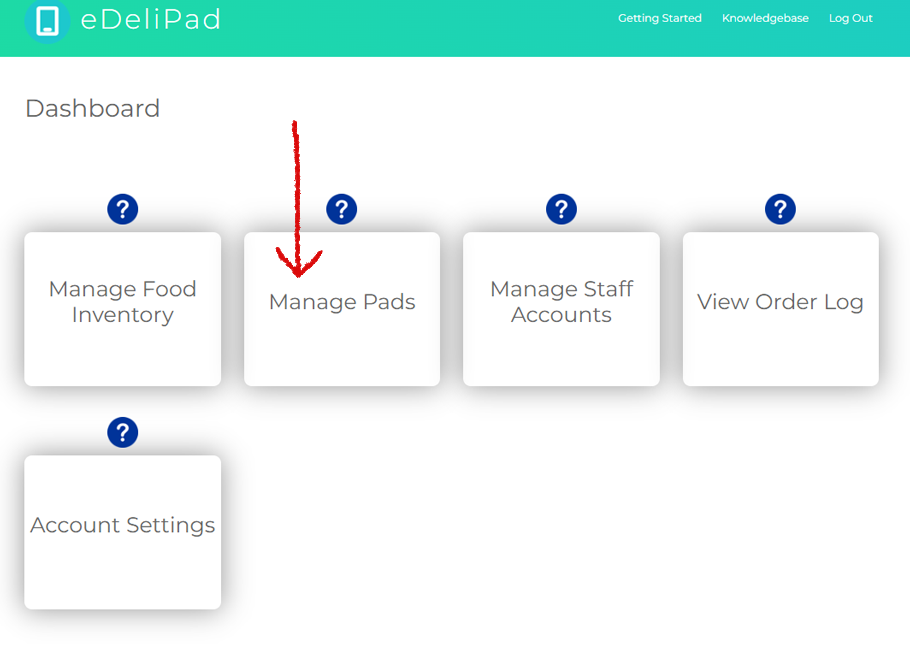
STEP 1 #
From the dashboard of your owner account, click on the second box. It is labeled “Manage Pads” (See fig.1).
STEP 2 #
You will be brought to the page where you can create your order pads (See fig 2).
Any food inventory categories or food inventory items you created in “Manage Food Inventory” will be available in the “Select Items for Your Pad” window (See fig.2).
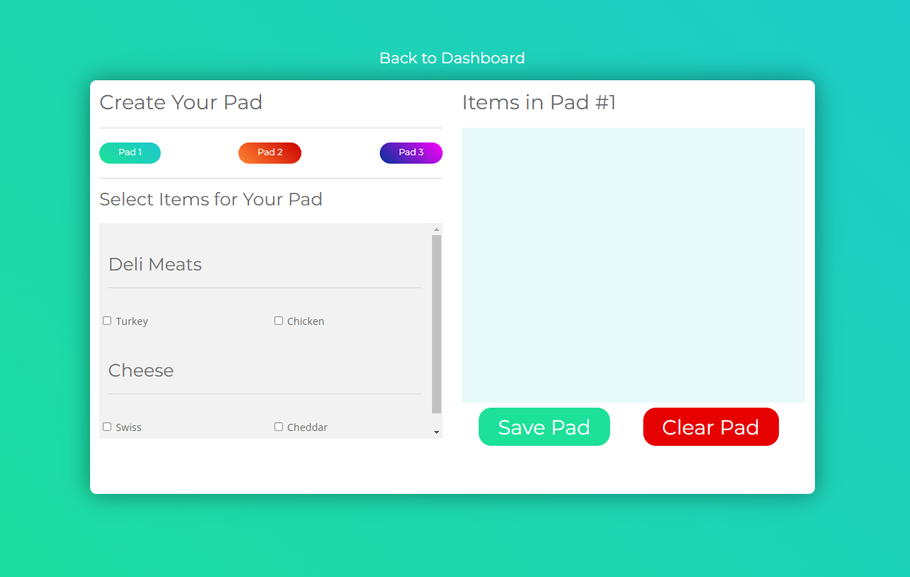
eDeliPad makes it possible to create 3 different order pads(See fig. 3).
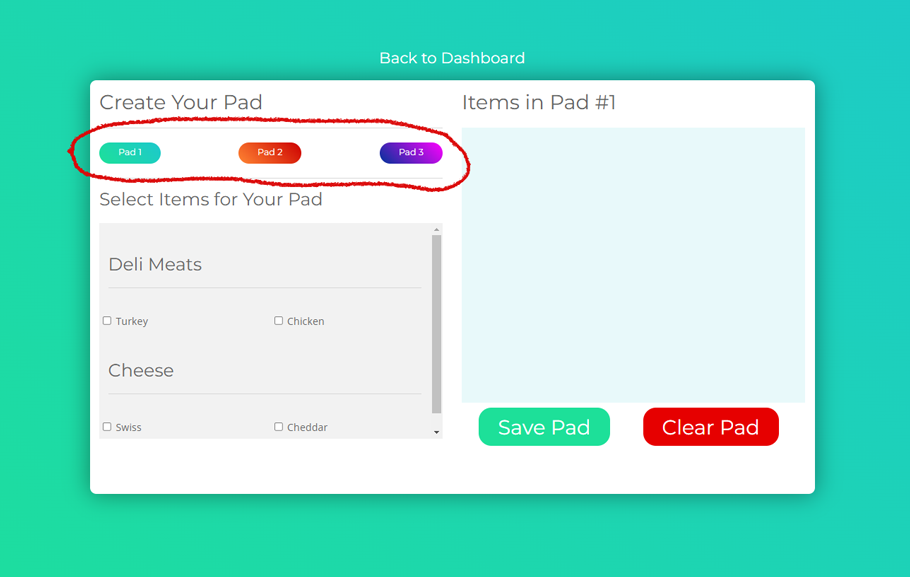
By default, “Pad 1” will be selected whenever you arrive at this page (See fig. 4).
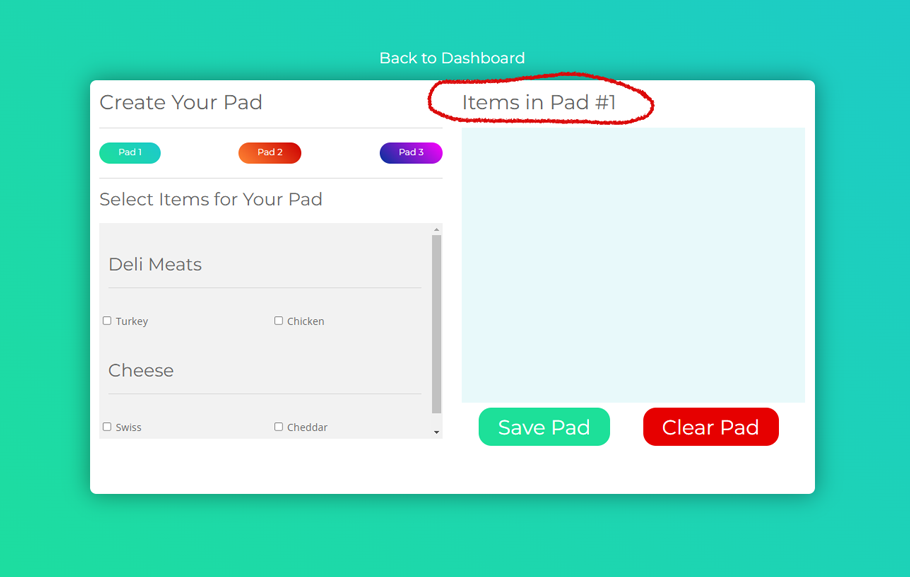
STEP 3 #
Select which order pad you would like to build. For this tutorial, we will keep the selected order pad as “Pad 1” (See fig. 5).
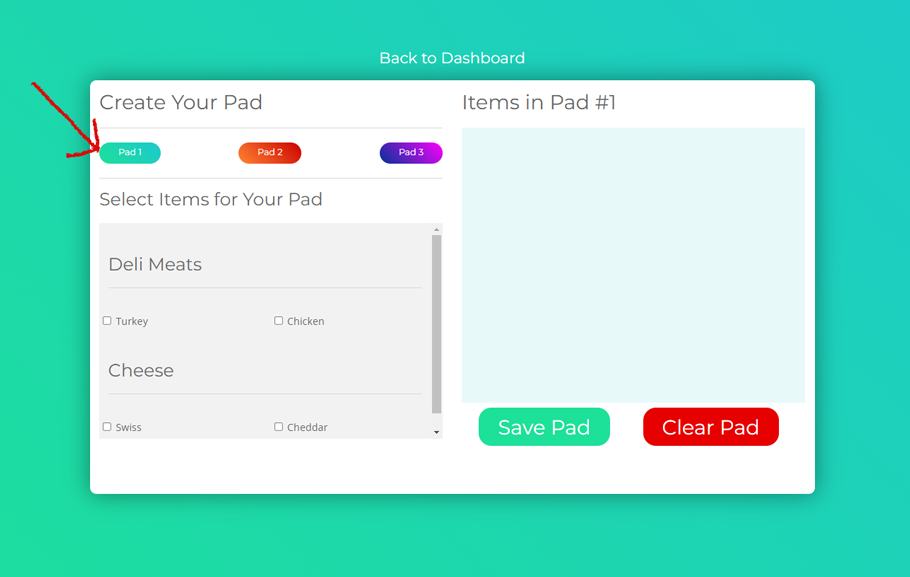
***(NOTE!!! To create a pad other than “Pad 1”, click on the button “Pad 2” or on “Pad 3”. You will see the pad listing change to show which pad you are on or about to create.
STEP 4 #
Select which food items you would like to include on the order pad. For this tutorial, we will select “Turkey” and “Cheddar” (See fig. 7).
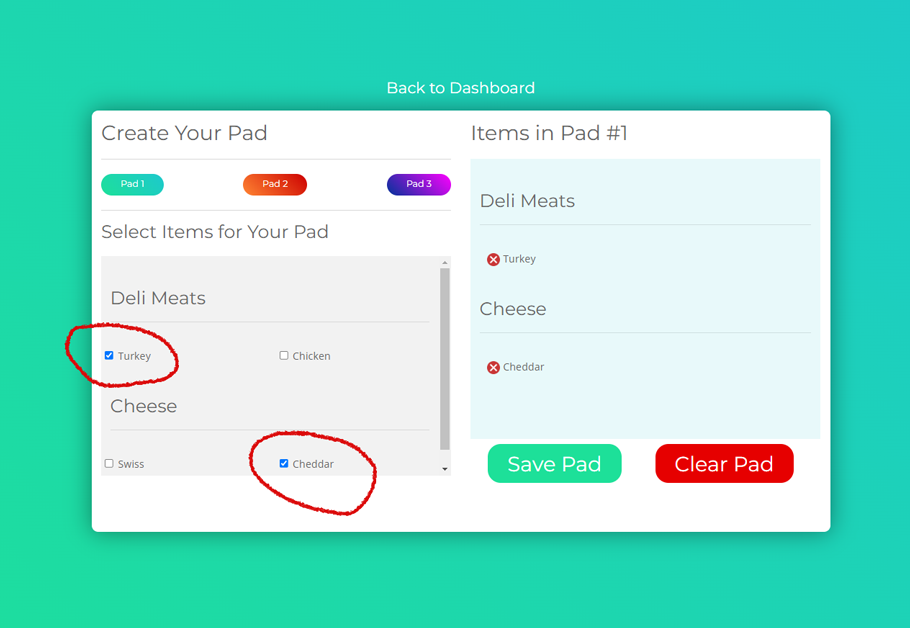
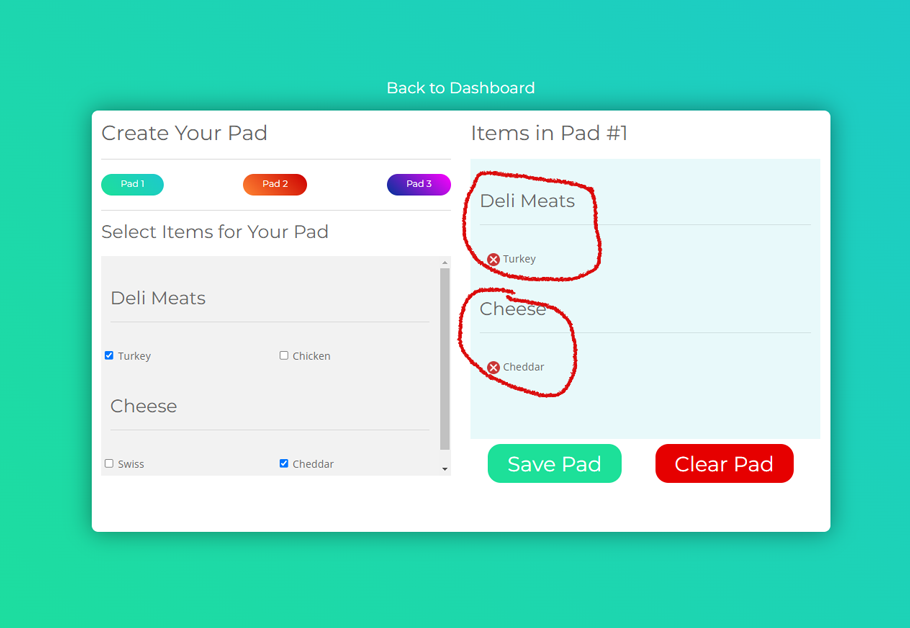
When selected, the food items and their corresponding categories will appear in the space on the right (See fig. 8).
STEP 5 #
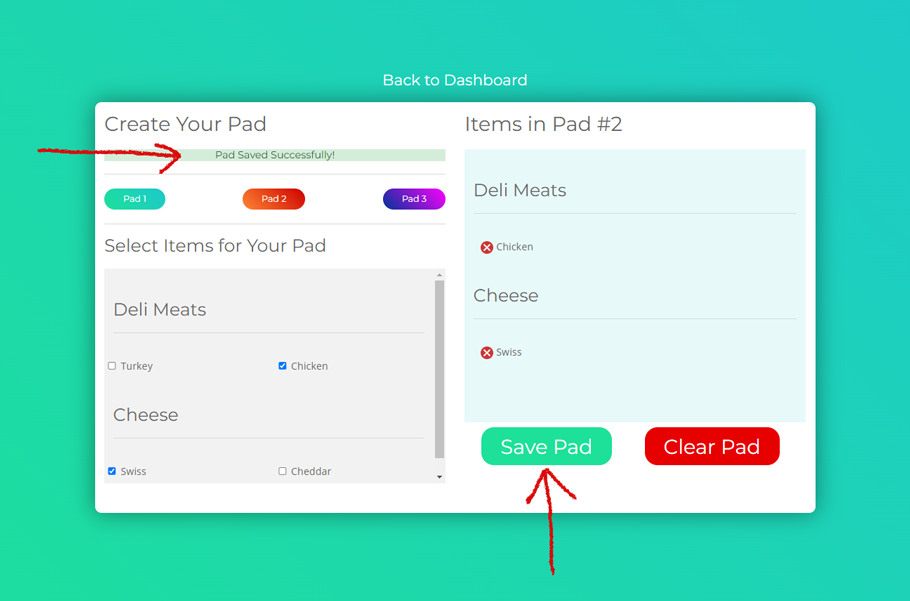
Click on the “Save Pad” button. A small banner that says “Pad Saved Successfully” will appear for a few seconds (See fig. 9). You have now completed and saved the order pad.
