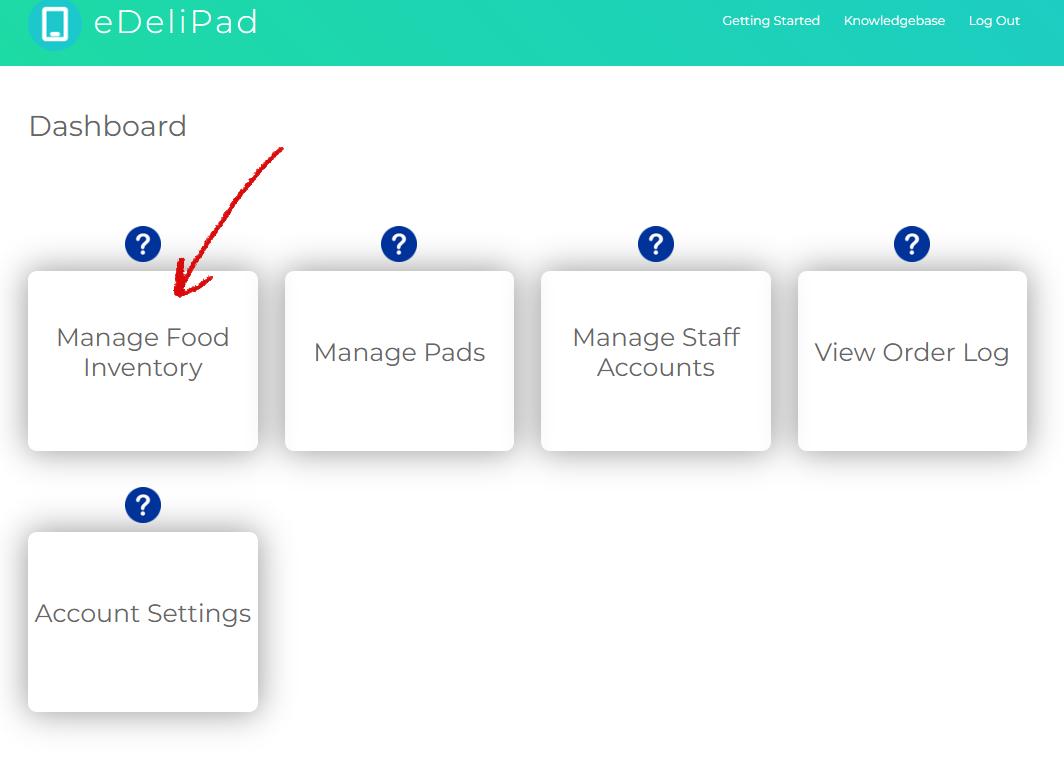
STEP 1 #
From the dashboard of your owner account, click on the first box. It is labeled “Manage Food Inventory” (See fig.1).
STEP 2 #
You will be brought to the forms that can be used to create the inventory list of the categories and foods. The categories and foods will be what you use to create your order pads later (See fig 2).

From here, there are 2 methods you can use to enter your food inventory.
STEP 3 (Start of Method 1) #
For the purposes of demonstrating Method 1 of entering your inventory, we will use Deli Meats as an example for a category.
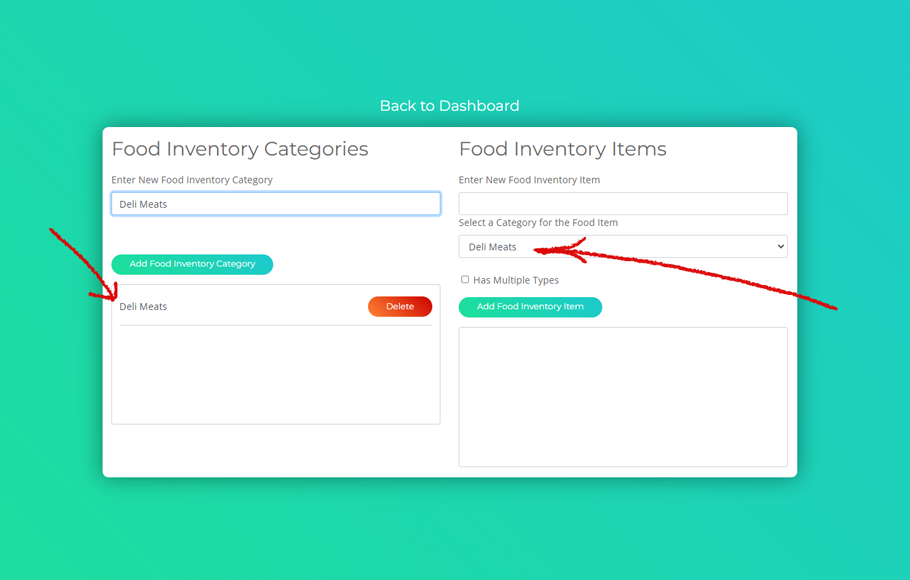
There are 2 sections of the form. The left side says “Food Inventory Categories” and the right side says “Food Inventory Items” (See fig. 3).

You will first need to create a food Category on the left hand side.
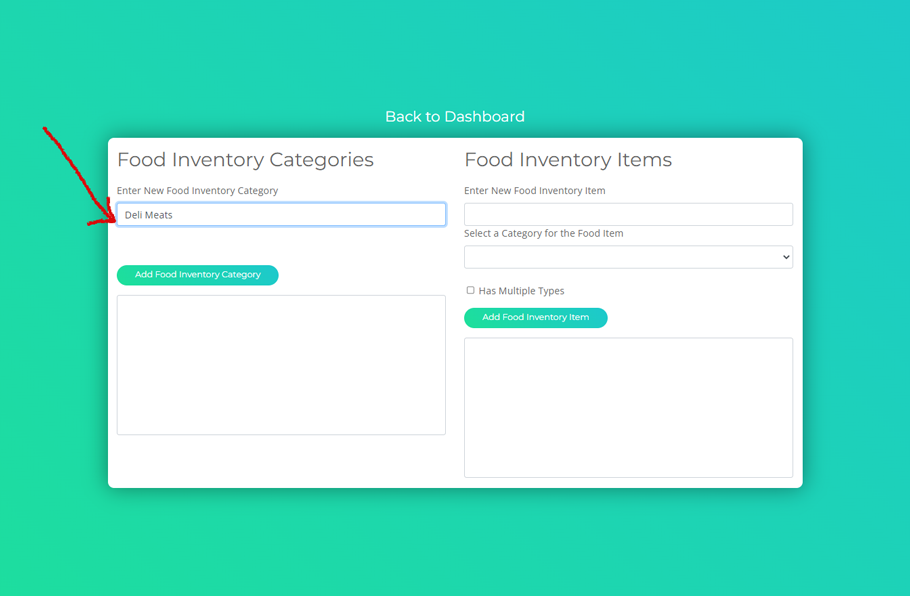
STEP 4 #
For demonstration purposes, enter “Deli Meats” as the category (See fig 4).
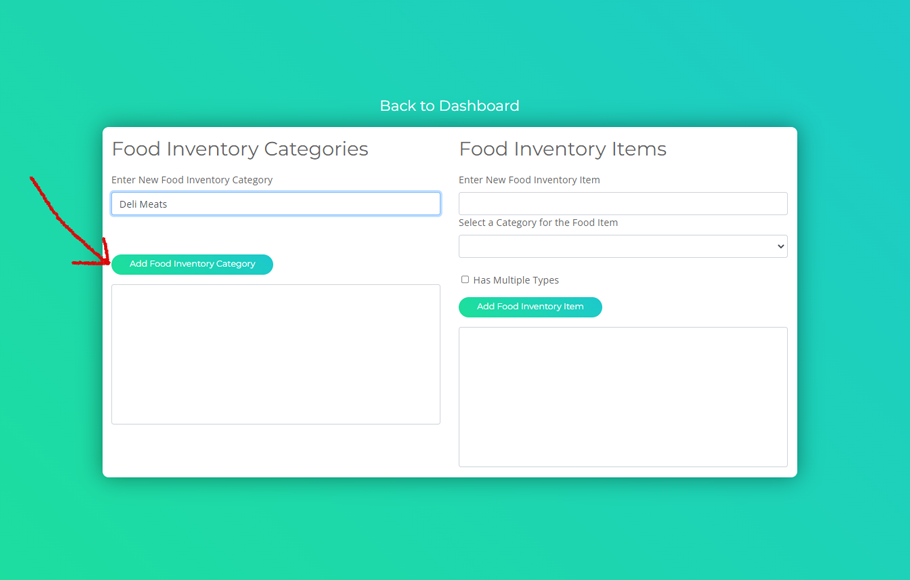
STEP 5 #
Click on the “Add Food Inventory Category” button (See fig 5).
You will then see the category appear in the display window and also in the “Select a Category for the Food Item” dropdown menu.(See fig. 6).
STEP 6 #
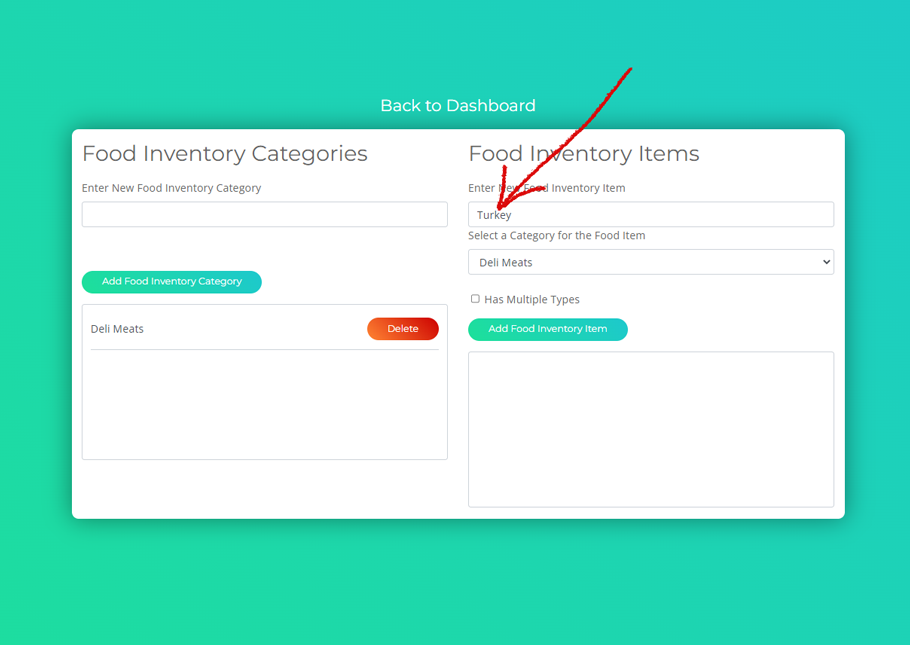
At this time, we can enter our first food item.
On the “Food Inventory Items” side of the form, let’s enter “Turkey” into the “Enter New Food Inventory Item” field (See fig. 7).
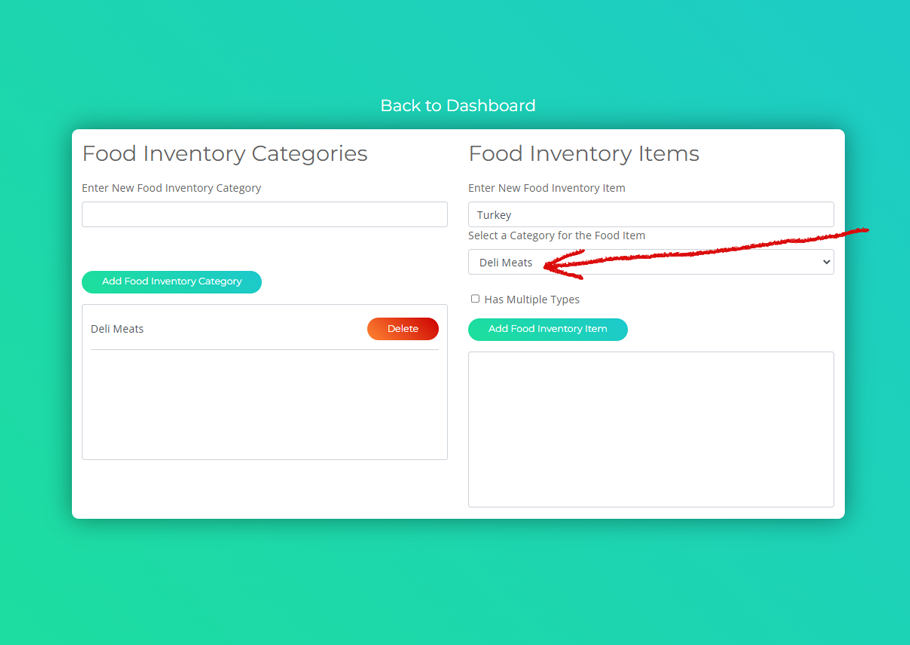
STEP 7 #
Now, go to the “Select a Category for the Food Item” dropdown menu and select “Deli Meats” (See fig. 8).
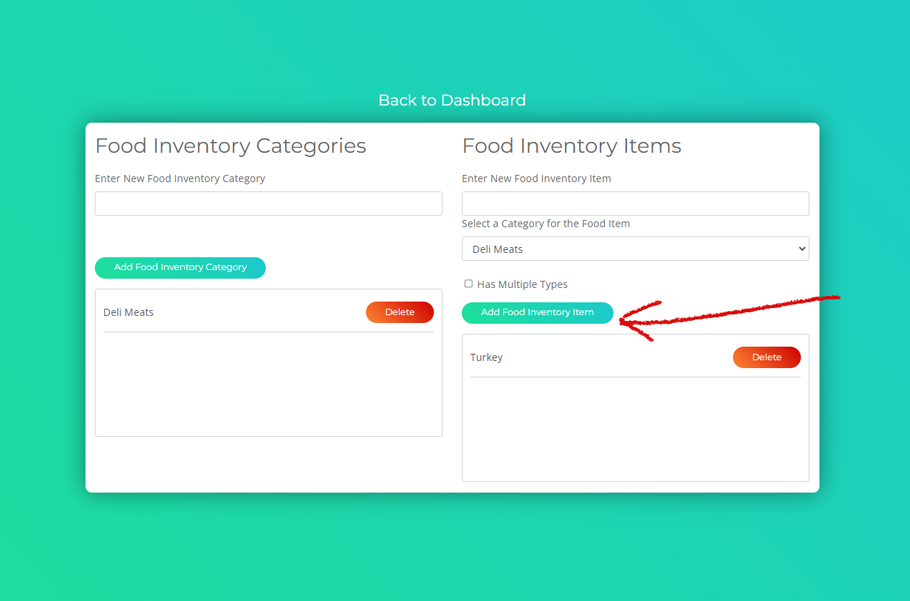
STEP 8 (End of Method 1) #
And finally, click on the “Add Food Inventory Item” button.
You have now added your first category and food item to your eDeliPad inventory.
Repeat steps 1 through 8, until you have entered in all the categories and food items you need.
STEP 9 (Start of Method 2) #
For the purposes of demonstrating Method 2 of entering your inventory, we will use Meat as an example for a category.
There are 2 sections of the form. The left side says “Food Inventory Categories” and the right side says “Food Inventory Items”. You will first need to create a food Category on the left hand side (See fig. 10).
STEP 10 #
For demonstration purposes, enter “Meat” as the category (See fig 11).
STEP 11 #
Click on the “Add Food Inventory Category” button (See fig 12).
You will then see the category appear in the display window and also in the “Select a Category for the Food Item” dropdown menu.(See fig. 13).
STEP 12 #
At this time, we can enter our first food item.
On the “Food Inventory Items” side of the form, let’s enter “Deli Meat” into the “Enter New Food Inventory Item” field (See fig. 14).
STEP 13 #
Now, go to the “Select a Category for the Food Item” dropdown menu and select “Meat” (See fig. 15).
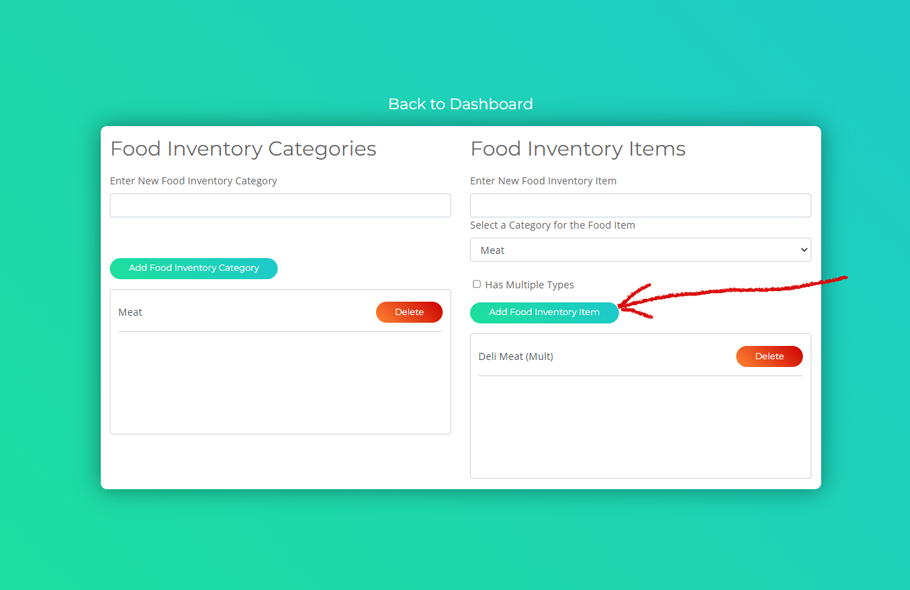
STEP 14 #
Click on the box next to “Has Multiple Types”. (See fig. 16).
Adding the “Has Multiple Types” attribute to the food inventory item will place a text box next to the item on the live order pad. The text box allows the staff member to place any text they may need to.

STEP 15 (End of Method 2) #
And finally, click on the “Add Food Inventory Item” button.
You have now added your first category and food item to your eDeliPad inventory.
Repeat steps 1 through 8, until you have entered in all the categories and food items you need.